Embarking on the journey to craft gourmet ice cream at home blends culinary creativity with delightful flavors and textures. This process not only invites experimentation with bases like vanilla enriched by real beans but also allows for diverse flavor explorations, from bergamot zest to whiskey. Discover essential techniques and flavorful innovations that elevate homemade frozen desserts.
Make Your Own Gourmet Ice Cream at Home
Crafting gourmet ice cream at home is an adventure that combines the charm of culinary creativity with mouthwatering results. Homemade ice cream offers an opportunity to experiment with unexpected flavors and textures that might not be readily available in commercial varieties. For enthusiasts eager to embrace this pastime, understanding the basic ingredients and methods is key.
The most traditional homemade ice cream recipes begin with a classic vanilla base. Using real vanilla beans enhances the flavor, providing a rich and floral profile that transforms the simple notion of vanilla into something luxurious as demonstrated in some recipes. Essential kitchen tools include a wire whisk, rubber spatula, and optionally, an instant-read thermometer, ensuring precision in creating the perfect custard base.
Preparing and Churning the Mixture
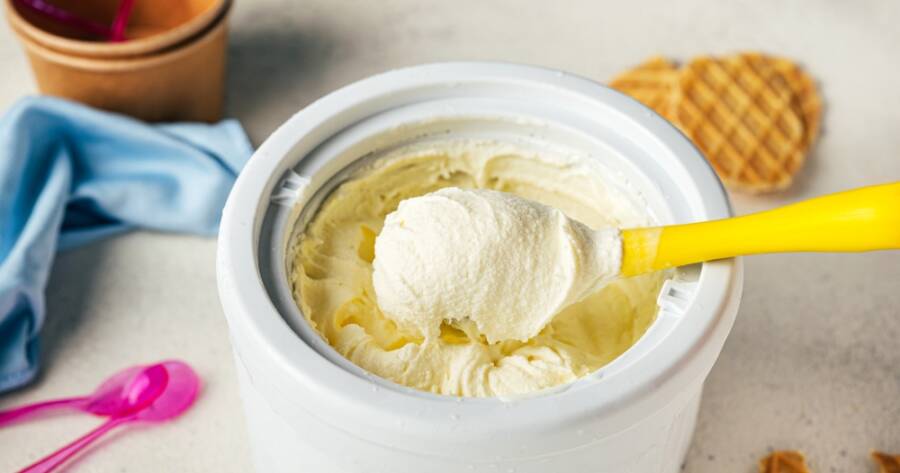
To achieve a velvety texture, the custard base must be properly chilled. A critical step involves chilling the mixture for several hours to overnight. This cooling period ensures that the ice cream, once churned, will be dense and creamy. The initial preparation entails warming the blend of ingredients, then cooling it before churning.
The churning process itself is relatively quick, taking approximately 20 to 30 minutes. This phase is crucial as it incorporates air and prevents the formation of ice crystals. A precise churning technique, whether using traditional or no-churn methods, is pivotal for those seeking to master the craft of homemade ice cream. After churning, the mixture can be relished as a soft serve or stored for a firmer consistency.
Diverse Flavors and Variations
One of the most exciting aspects of making ice cream from scratch is exploring various flavors. Some recipes encourage the addition of bergamot orange zest, resulting in a sophisticated twist on vanilla that evokes the essence of earl grey tea inspired recipes. Other creative options include folding in fresh ingredients like mint, or integrating unique flavors like avocado and whiskey.
Ice cream aficionados can explore a wealth of recipes that go beyond the traditional. For instance, incorporating browned butter into pecan ice cream enhances its flavor depth, while using cornstarch in Sicilian-style recipes serves as a dependable thickener. Alternative frozen desserts like sorbets and sherbets offer lighter options, expanding the scope of homemade gourmet frozen treats.
Optional Techniques and Storage Tips
Advanced techniques for those who wish to refine their ice cream-making skills include using substances like xanthan gum, which helps stabilize ice crystals and improve texture, keeping ice cream fresh for longer periods. Additionally, employing parchment paper seals can prevent unwanted ice formation.
For those with dietary preferences, numerous vegan and dairy-free recipes provide sumptuous alternatives without compromising on taste. Common substitutions utilize milk alternatives that still yield a creamy texture, accommodating a diverse audience.
Why You Should Learn More About Gourmet Ice Cream Making Today
Delving into the world of homemade gourmet ice cream presents endless possibilities for innovation and indulgence. It’s an enriching hobby that not only satisfies sweet cravings but also nurtures creativity in the kitchen. With a basic understanding of essential techniques, anyone can embark on a culinary journey to create delicious frozen masterpieces, tailored to personal preferences.
Whether you are interested in mastering classic flavors or experimenting with exotic combinations, exploring the vibrant world of homemade ice cream offers both a creative outlet and a rewarding experience. Consider setting aside some time to dabble in this delicious endeavor; the results will surely be delightful.